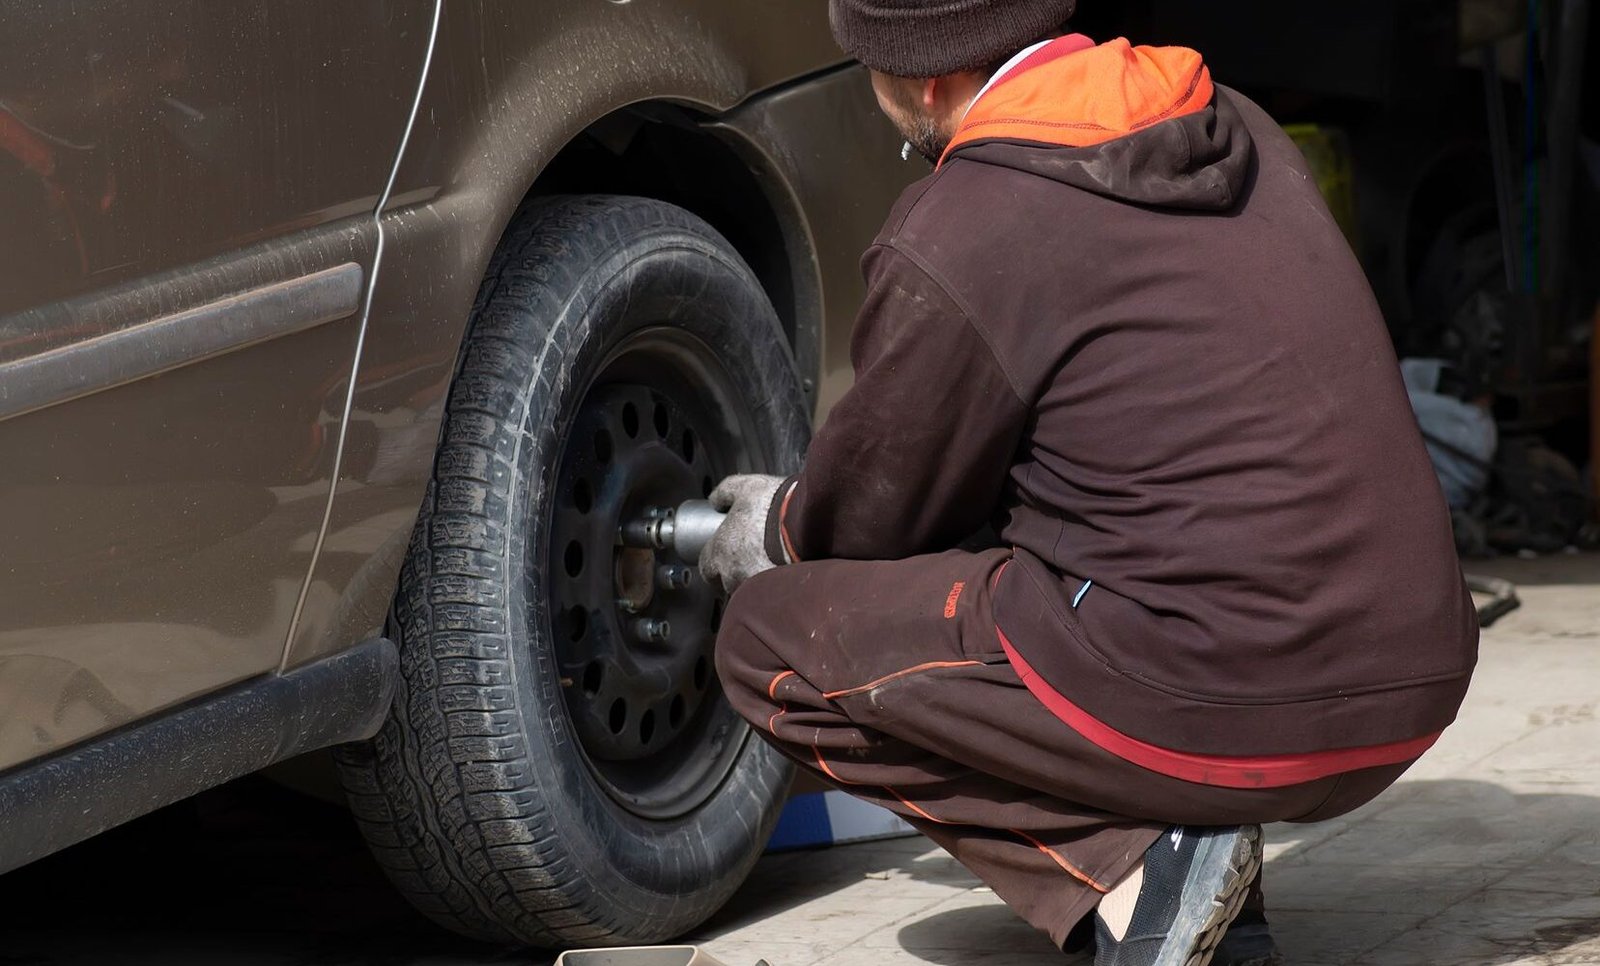
Knowing how to replace a flat tire is an essential skill for any driver. A flat tire can happen at the most inconvenient times, and being prepared can save you from getting stranded or reliant on roadside assistance. This guide will walk you through the necessary steps to replace a flat tire safely and efficiently.
Gather your tools and safety equipment
Before you begin replacing a flat tire, it’s important to gather the necessary tools and safety equipment. Having everything on hand will make the process smoother and quicker. Here’s a list of items you will need:
- Spare tire: Ensure that your spare tire is in good condition and properly inflated.
- Jack: A hydraulic or scissor jack will lift your vehicle off the ground.
- Lug wrench: This tool will help you remove the lug nuts that hold the tire in place.
- Wheel chocks: These will prevent your vehicle from rolling while you work on it.
- Safety gloves: Protect your hands from dirt and injury.
- Reflective triangles or cones: To warn approaching traffic.
Find a safe location
Before you begin the replacement process, it is essential to find a safe location to change your tire. Look for a flat, stable surface away from traffic, such as a parking lot or a wide shoulder. Avoid changing your tire on a slope or incline, as this can make the task more difficult and dangerous.
Once you have found a suitable location, turn on your hazard lights to alert other drivers that you are stationary. If you have reflective triangles or cones, set them up at a safe distance behind your vehicle.
Remove the flat tire
Now that you are prepared, it is time to remove the flat tire. Follow these steps:
- Loosen the lug nuts: Using the lug wrench, turn the lug nuts counterclockwise to loosen them. Do not completely remove the lug nuts yet; just break their tightness while the tire is still on the ground.
- Jack up the vehicle: Place the jack under the vehicle frame, ensuring it is positioned on a stable part of the car’s structure. Refer to your owner’s manual for the correct placement. Pump or crank the jack to lift the vehicle until the flat tire is off the ground.
- Remove the lug nuts: Now that the vehicle is elevated, remove the loosened lug nuts completely. Keep them in a safe place, as you will need them to secure the spare tire.
- Take off the flat tire: Carefully pull the flat tire straight off the wheel hub. Set it aside, making sure it is out of the way.
Install the spare tire
With the flat tire removed, it is time to install the spare tire. Here’s how to do it correctly:
- Align the spare tire: Position the spare tire onto the wheel hub, aligning the holes with the studs. If you have a directional tire, ensure it is oriented correctly.
- Hand-tighten the lug nuts: Place the lug nuts onto the studs and hand-tighten them. This ensures that the spare tire is secured in place before you lower the vehicle.
- Lower the vehicle: Carefully lower the vehicle back to the ground by operating the jack in reverse. Once the tire is back on the ground, you can fully tighten the lug nuts.
- Tighten the lug nuts: Using the lug wrench, tighten the lug nuts in a star pattern. This ensures even pressure on the wheel and prevents the tire from becoming loose.
Final checks and tips
After successfully replacing a flat tire, there are a few final checks and tips to keep in mind:
- Check the spare tire pressure: Ensure that your spare tire is adequately inflated before driving away. Most spare tires require higher pressure than regular tires.
- Store the flat tire and tools: Place the flat tire, jack, and lug wrench back in your vehicle. Make sure everything is secure before driving.
- Visit a professional: Spare tires are often not meant for long distances or high speeds. Visit a tire shop to repair or replace the flat tire as soon as possible.
Being prepared for a flat tire can save you time and stress. By following this step-by-step guide, you will be equipped to handle a flat tire confidently and safely. Remember that regular maintenance and tire checks can help prevent flats in the first place, so keep an eye on your tire health to ensure a smooth driving experience.
Understanding tire repair kits and their usage
While knowing how to replace a flat tire with a spare is essential, having a tire repair kit on hand can be a game changer, especially in situations where a spare is not available or practical. Tire repair kits can provide a quick, temporary solution that gets you back on the road without the hassle of changing the tire entirely.
Most tire repair kits include a variety of tools and materials designed to fix punctures in the tread area of the tire. The most common components are tire plugs, sealants, and inflation devices. It’s crucial to understand how to use these tools effectively to ensure a reliable repair.
One popular option is the tire plug kit, which typically includes a reamer tool, insertion tool, and rubber plugs. If you encounter a puncture, the first step is to locate the hole, which can sometimes be identified by hissing sounds or visible damage. Once located, use the reamer tool to clean and enlarge the hole slightly, making it easier to insert the plug.
Tip: If the puncture is larger than a quarter of an inch or located in the sidewall, it’s safer to replace the tire rather than attempt a repair.
After reaming the hole, take a rubber plug and insert it into the insertion tool. Apply a bit of tire sealant to the plug for better adherence, then push the plug into the hole until about two-thirds of the plug is inside the tire. Once inserted, quickly pull the insertion tool out, leaving the plug behind. Trim any excess of the plug that protrudes from the tire for a smooth finish.
Once the plug is in place, it’s essential to inflate the tire back to its recommended pressure. Many tire repair kits include a portable air compressor or CO2 cartridges for this purpose. Always check the tire pressure after repair to ensure it meets the vehicle manufacturer’s specifications.
It’s also advisable to carry a small bottle of tire sealant. This can be used in conjunction with a tire repair kit or on its own for minor punctures. Tire sealants work by coating the inside of the tire and sealing small holes as the tire rotates. Apply the sealant through the valve stem, following the instructions provided with the product. Keep in mind that sealants are intended for temporary fixes and should not replace professional tire repairs.
Example: A friend of mine had a flat while driving through a remote area. Instead of waiting for roadside assistance, he used his tire repair kit, plugged the tire, and was back on the road within 30 minutes.
While tire repair kits are incredibly useful, it’s essential to understand their limitations. These repairs are generally temporary and should not be considered a permanent solution. Always have your repaired tire inspected by a professional as soon as possible to ensure safety and longevity. Additionally, familiarize yourself with your vehicle’s owner’s manual regarding tire maintenance and repair recommendations.
Incorporating a tire repair kit into your emergency roadside toolkit can save you time and stress when faced with a flat tire. Knowing how to use it properly can provide peace of mind and keep you moving smoothly on your journeys.
Understanding tire pressure and maintenance
Replacing a flat tire is only part of the equation when it comes to tire care. To ensure your safety and prolong the lifespan of your tires, understanding and maintaining proper tire pressure is essential. Under-inflated or over-inflated tires can lead to premature wear, decreased fuel efficiency, and increased risk of blowouts.
First, familiarize yourself with the manufacturer’s recommended tire pressure, which can typically be found on a sticker inside the driver’s side door or in your vehicle’s owner manual. This information is crucial as the optimal pressure varies depending on the vehicle and tire specifications.
To check your tire pressure accurately, invest in a quality tire pressure gauge. Digital models provide precise readings, but even a simple manual gauge can suffice. Start by checking the pressure when the tires are cold, as driving heats them up and can give a false reading. Remove the valve cap and press the gauge onto the valve stem; note the reading displayed. If it differs from the manufacturer’s recommendation, you will need to adjust it.
For instance, if your recommended tire pressure is 32 PSI and your reading is 28 PSI, inflate the tire until it reaches the correct pressure.
Inflation can be done at home using an air compressor or at a gas station. If you are using a gas station air pump, make sure to double-check the pressure after inflating. Over-inflation can also lead to issues, including a rough ride and increased wear on the center of the tire tread.
In addition to pressure checks, regular visual inspections of your tires are necessary. Look for any signs of damage, such as cuts, punctures, or uneven wear patterns, which could indicate alignment or suspension problems. If you notice any abnormalities, consult a professional for an evaluation.
Another significant aspect of tire maintenance is tread depth. Insufficient tread can compromise your vehicle’s traction, especially in wet conditions. You can easily check the tread depth using the penny test: insert a penny into the tread with Lincoln’s head facing down. If you can see all of Lincoln’s head, it’s time to replace the tire.
In regions with harsh winters, consider investing in winter tires, which are designed to perform better in cold and slippery conditions, further enhancing safety.
Finally, remember that tires should be rotated every 5,000 to 7,500 miles to ensure even wear across all tires. Uneven wear can lead to the necessity of premature replacements. By maintaining proper tire pressure and regular upkeep, not only will you extend the life of your tires, but you will also enhance your overall driving experience and safety on the road.
Understanding tire maintenance and repair tools
While knowing how to replace a flat tire is crucial, understanding the tools and equipment involved can greatly enhance your efficiency and safety during the process. Familiarizing yourself with the essential tools not only helps in dealing with a flat tire but also aids in regular maintenance to prevent future issues.
First, consider investing in a high-quality tire repair kit. These kits usually include tire plugs, a reamer, and adhesive sealant. Tire plugs are a temporary solution that can help you seal punctures on the road until you can get to a professional. A reamer is used to clean and enlarge the puncture hole, allowing the plug to fit snugly. The adhesive sealant enhances the sealing capacity of the plug, providing you with peace of mind as you drive to the nearest repair shop.
In addition to repair kits, a portable air compressor can be a lifesaver. Many flat tires lose air slowly rather than deflating completely at once. Having a compressor allows you to inflate the tire sufficiently until you can replace it or repair it. Modern models are often compact and can be powered through your vehicle’s 12V outlet, making them easy to store and use.
Additionally, familiarize yourself with the different types of jacks available. The most common jack is the scissor jack, which is lightweight and easy to use, but it can require significant effort to lift the vehicle. A hydraulic floor jack, while bulkier, can lift a car with minimal effort and is more stable. For those who frequently handle tire repairs, investing in a portable hydraulic jack can save time and energy.
Another important tool is a torque wrench. When replacing lug nuts, it’s critical to apply the correct amount of torque to ensure they are secure. Over-tightening can lead to stripped threads, while under-tightening risks the wheel coming loose while driving. Always consult your vehicle’s owner manual for the recommended torque specifications.
Safety gear is also a consideration. A pair of gloves can protect your hands from dirt and sharp objects, while a reflective vest can enhance your visibility if you find yourself on the roadside, especially in poor lighting conditions. Additionally, a pair of kneepads or a mat can make working on the ground more comfortable.
Investing in quality tools now can save time and frustration later, ensuring that when you encounter a flat tire, you are fully prepared to handle the situation efficiently.
Finally, remember that while DIY repairs can be effective, some situations warrant professional help. If the damage to your tire is extensive or if the tire has sidewall damage, it is often safer and more reliable to seek assistance from a tire professional. Keeping a list of nearby repair shops and their contact information in your vehicle can save you time and stress when you find yourself in need of help.
Related reading: How to know when your tires need replacing, and How to check and maintain tire pressure for safety. For an outside reference on this topic, see NHTSA's vehicle resources.